The Making of Fodiator Bow Sculpture
This Fodiator Sculpture is a fantacy blend between a flying fish and sword fish and an angler fish and an archer fish.
At least, visually, that is what I had in mind.
The name Fodiator comes from one of the genera of flying fish.
With this project, I wanted the bow to have an automatic bow string grab and tensioner, so that all that had to be done was to move the angler lever back, which pulls the bow string and hooks it behind the trigger,
Then when the angler lever is returned to its resting position, the bow is cocked and all that has to be done was to fit the bolt and shoot it.
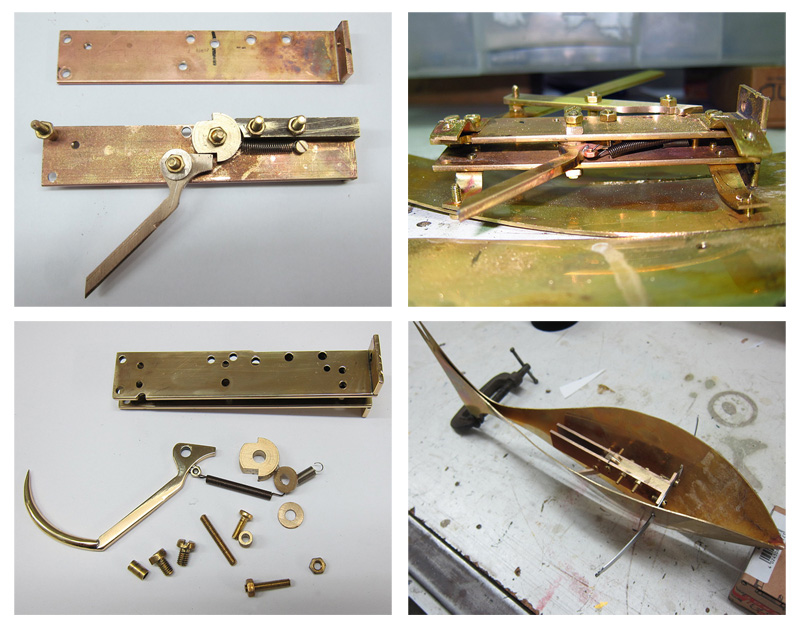
I designed and had the basic bow working, before I could design and fit the bow into the Fodiator's body. The lever pulls the bow string back and locks it behind the trigger lip. I wanted it to have and Angler fish look.
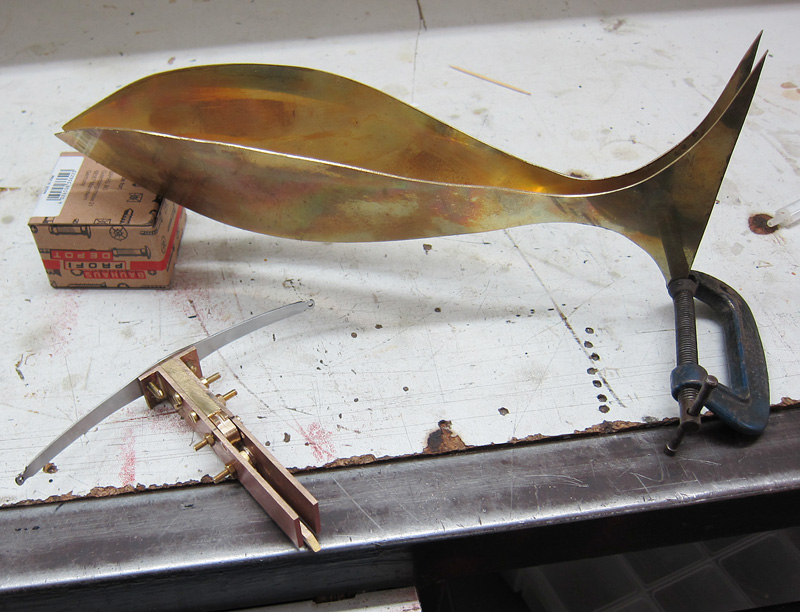
Since I had the basic bow working already, I could start fitting it into the Fodiator's body.
I started with 1 mm brass sheeting, that I cut out in a fish shape.
I got to give the two fish sides a bow to fit the bow.
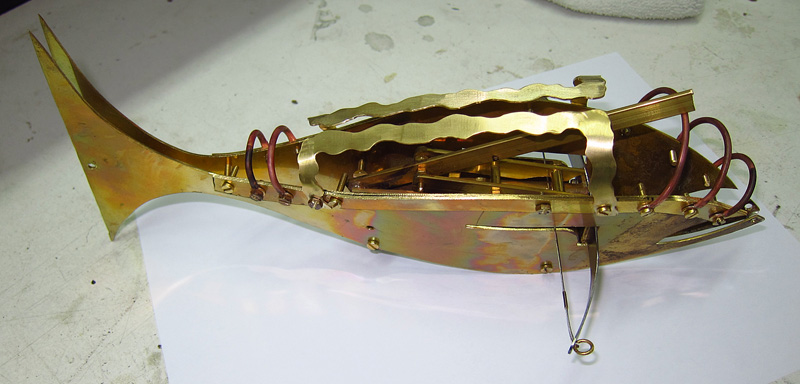
After forming the mouth, the spine formers are bent to fit and some copper joiners were also made and fitted on top.
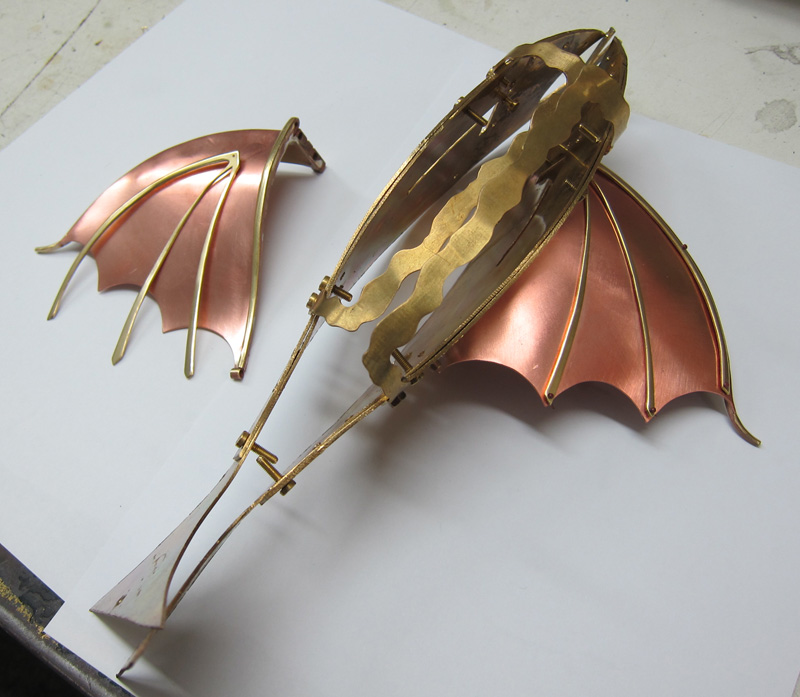
Design and development of front and rear wings which are screwed to the body.
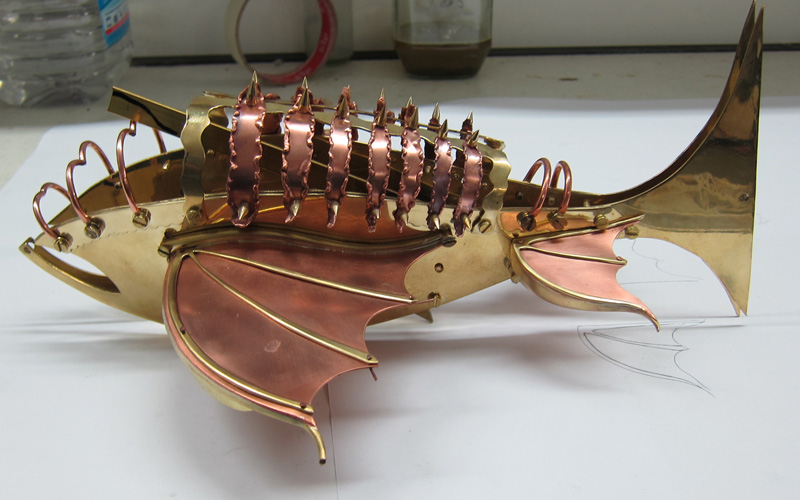
To give the impression of 'ribs', I cut out a graduated set of copper strips and then melted the sides of the strips resembling rough fish scales. Next come the spikes on the ribs.
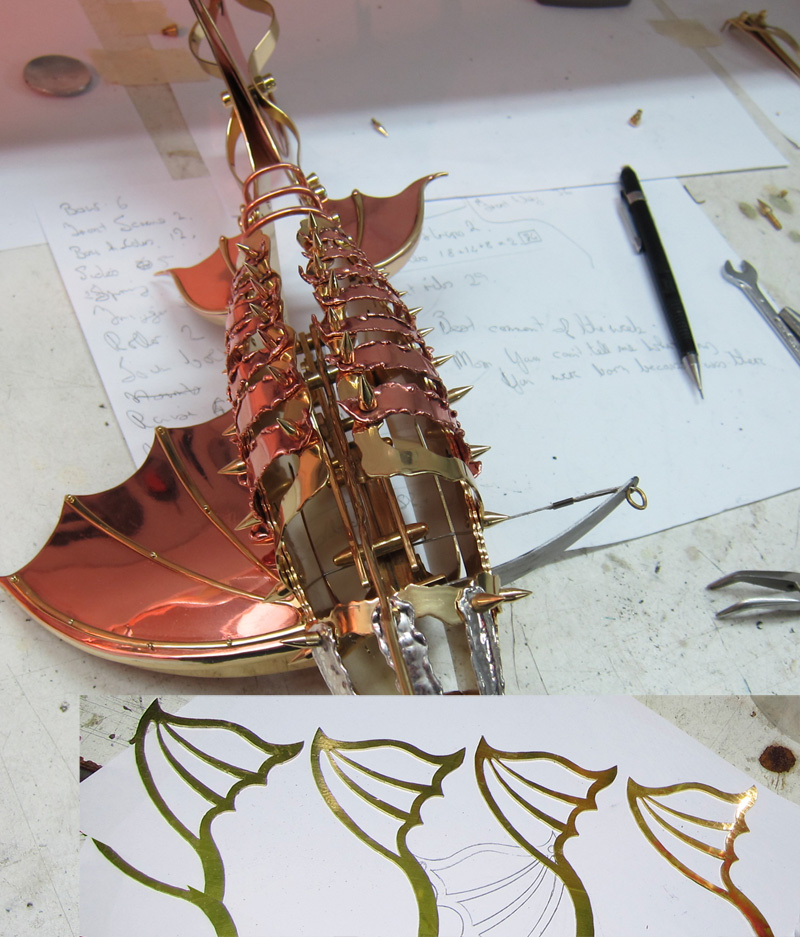
I decided that the bottom fins would have effectively six layers of sheeting that supports the whole sculpture.
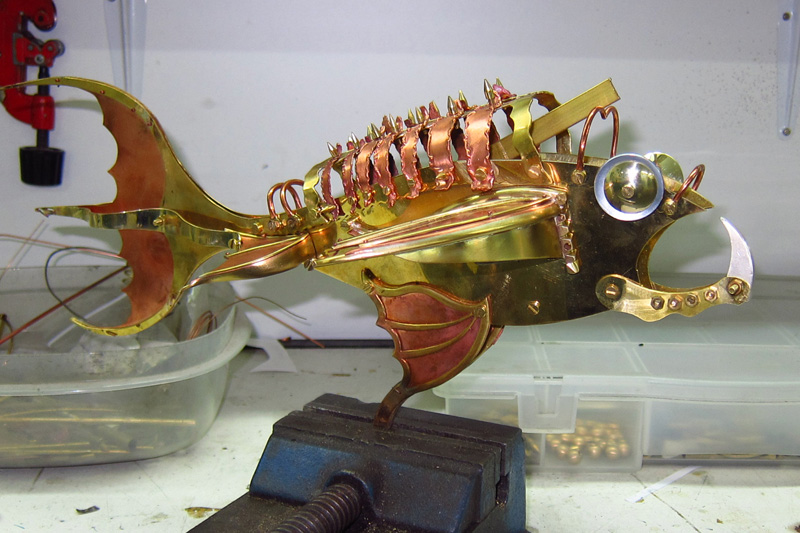
The jaw can be opened and closed. I wanted an forward jutting 'angler fish' kind of a look.
So, I carve a front tooth out of purple wax first.
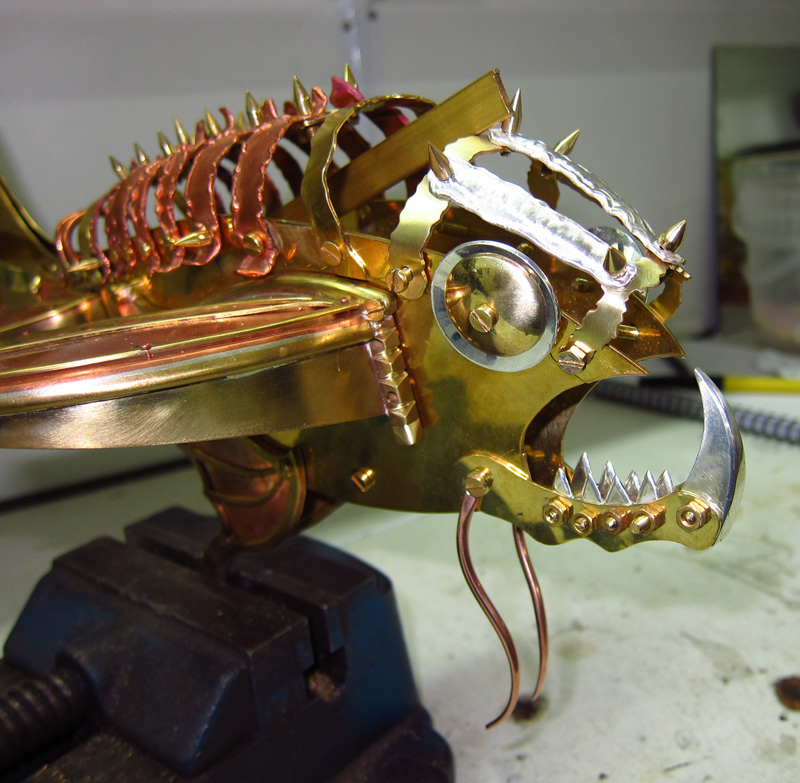
Adding more bottom teeth and some fused and melted silver strips for the forehead and also two tendrils at the bottom of the chin. Gemstones are set into the screws.

One thing that is always difficult on any sculpture are the eyes.
OK, so even though I have unlimited creative license, I nevertheless made nine different models for the eyes before I was reasonably happy. (I am never completely happy).
Eventually I changed to a smaller diameter concave brass with an aluminium background.
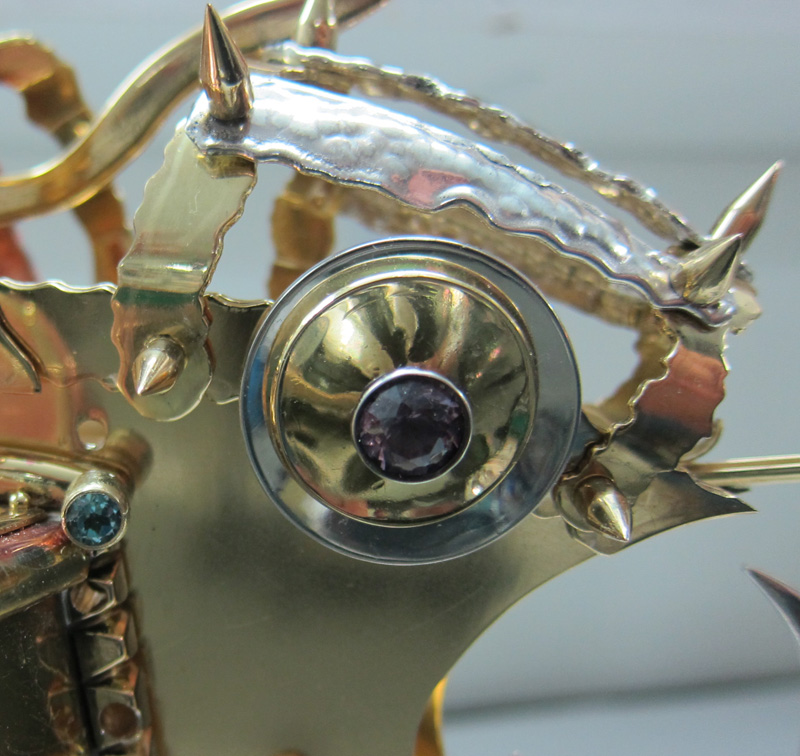
An amethyst set in a tapered tube that becomes a threaded screw holds everything in place.
A technique that I developed before is to engrave the sides of the tube and then to blacken the engraving. This gives for some interesting reflections in the concave brass.
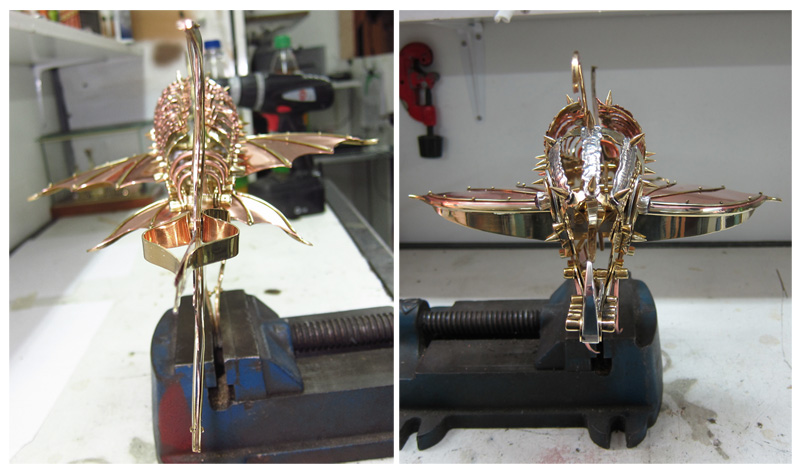
Horizontal view after final fitting of the crossbow and setting gemstones in the screws.
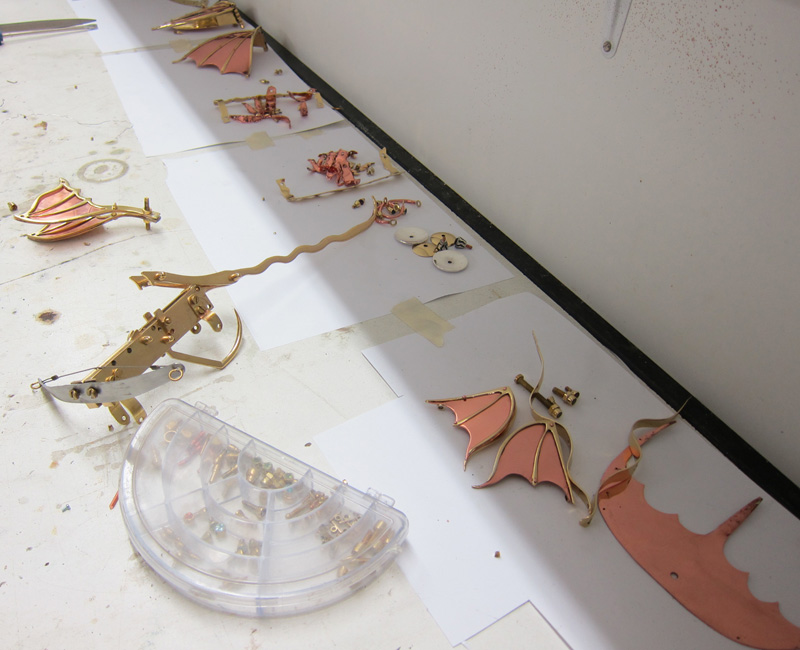
The Fodiator Bow was taken apart, finished off and re-assembled.
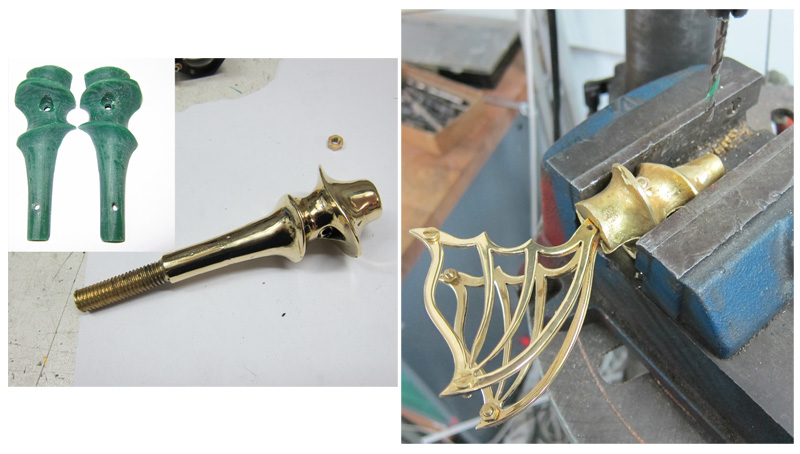
I carved two halves of the bottom stand out of wax which I then sand cast. The bottom fin structure being fitted to the central post. The central post will be fitted to a base of steel.
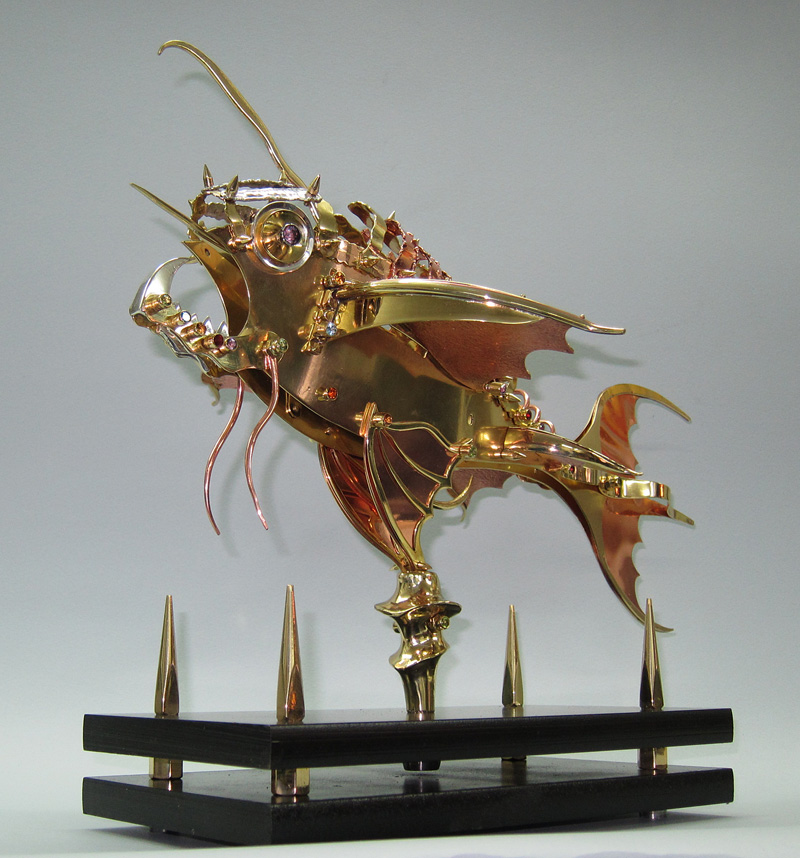
I like the look of two plates with a gap in between them.
Sort of got an industrial look.
Then I made some spikes for the base.
These also hold the two plates together and end in small legs so the base won't scratch any surface it stands on.
